
Naturally Sweetened Strawberry Jam | Preserving the Harvest
This post is a sponsored post by Ball® Canning. All of my opinions and experiences are my own. Many thanks to the brands that support my work here on Maia Terra.
I am so excited to share this post with you. Food preservation is something we can use to bring our garden harvests of summer and early fall into treats to nourish and share in the winter months. The act of canning is preparing + storing food like our ancestors did. It is a return to traditional ways to tap into our own resilience and lost knowledge. Our grandmothers and their grandmothers, survived economic down turns, failed crops, and long winter months with homemade preserved foods, and in actuality, we do to. Now our foods are preserved on a mass scale, but I think its an important process anyone can learn and use on their homesteads + in their kitchens to become empowered.
When you buy a bag of frozen corn or a jar of spaghetti sauce, those items have been preserved to sit on a shelf in the market. Preservation has become so removed from us, but it used to be a vital part of the home and the harvest. In these times, I think food preservation is a vital skill but also a beautiful way to share your garden with others and to intentionally use the foods you’ve grown or bought at the market.
Food preservation entails use a number of methods to keep food long after the harvest, including dehydration, freezing, pickling, and canning. The process of preservation is to keep those foods from spoiling, but even more so, to make those foods into tastier and more nutritious foodstuff.
Last year, I found an amazing deal on amish raspberries, more than we could eat at the time. I froze those berries to use in smoothies later. This year, I’ll be working to preserve more of our garden harvest and famers market finds, turning those fresh berries, peaches, cucumbers, into jam, pickles, chutneys, salsas, sauces and more.
Preserving our food is an important skill i’m excited to cultivate, expand, and share with you. Water bath canning is only one method of food preservation. I love that this process allows you to have more control over the ingredients going into your prepared food and make use of things that might go to waste.
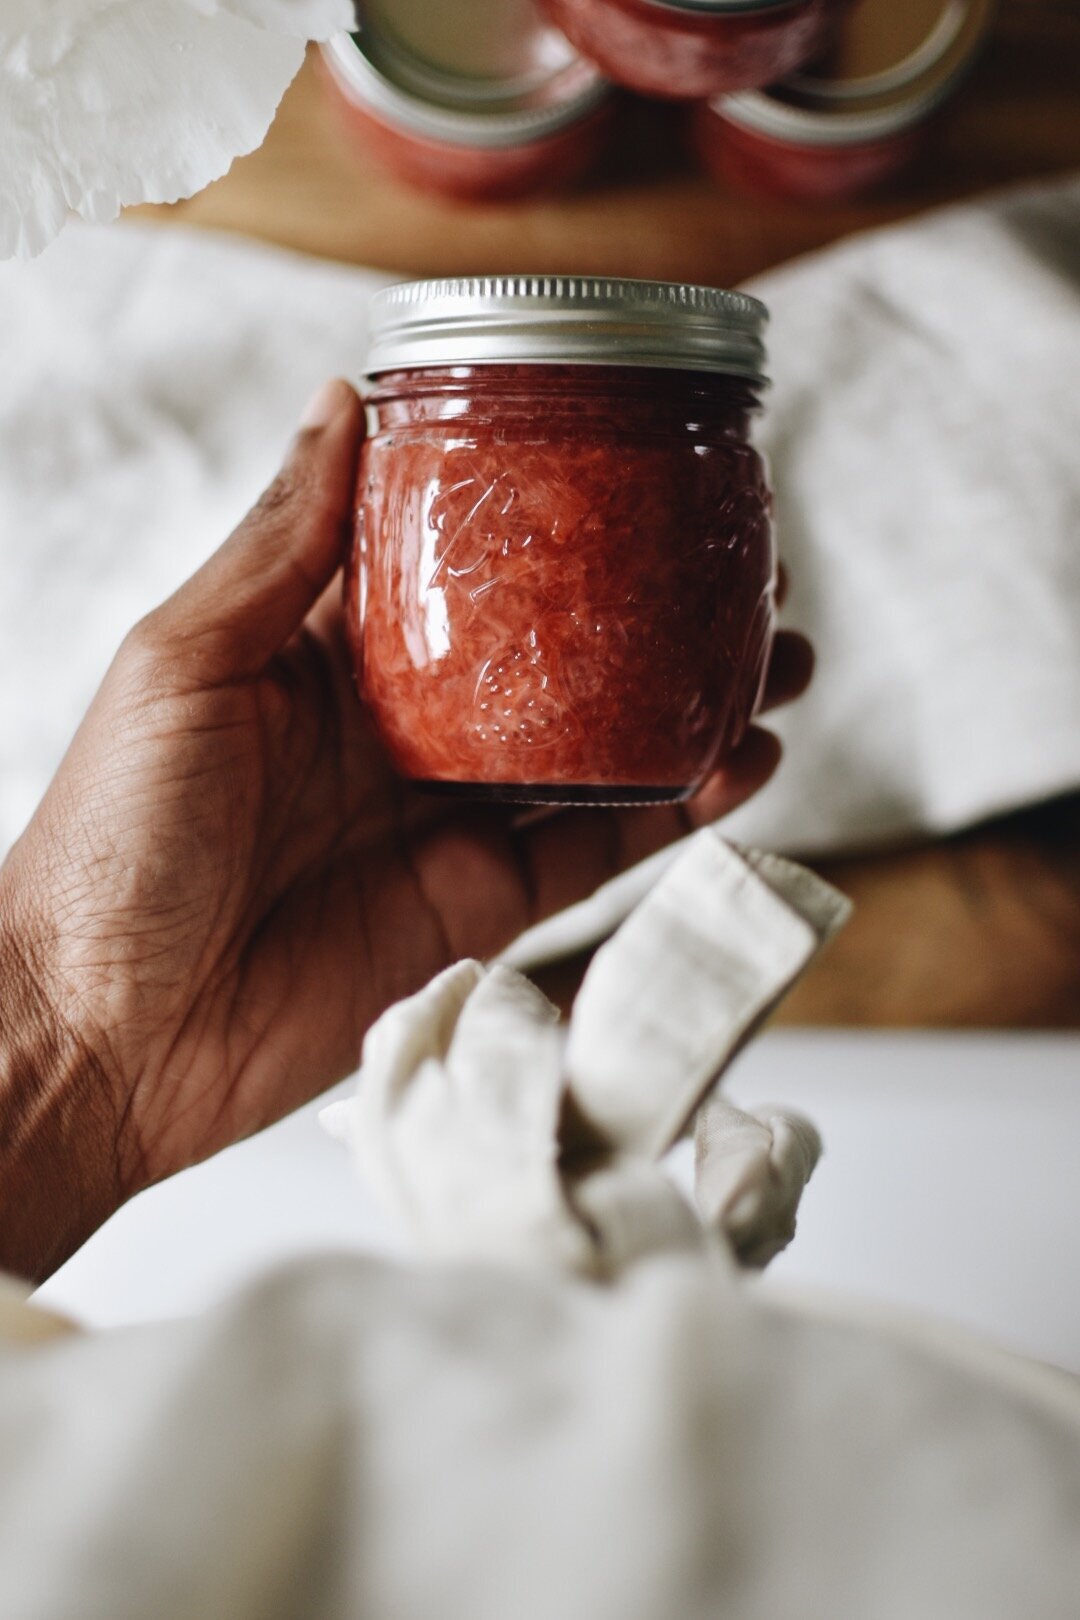
This is a simple and easy recipe for no sugar strawberry jam with a step by step tutorial with pictures as an introduction to water bath canning.
Preparing for Water Bath Canning
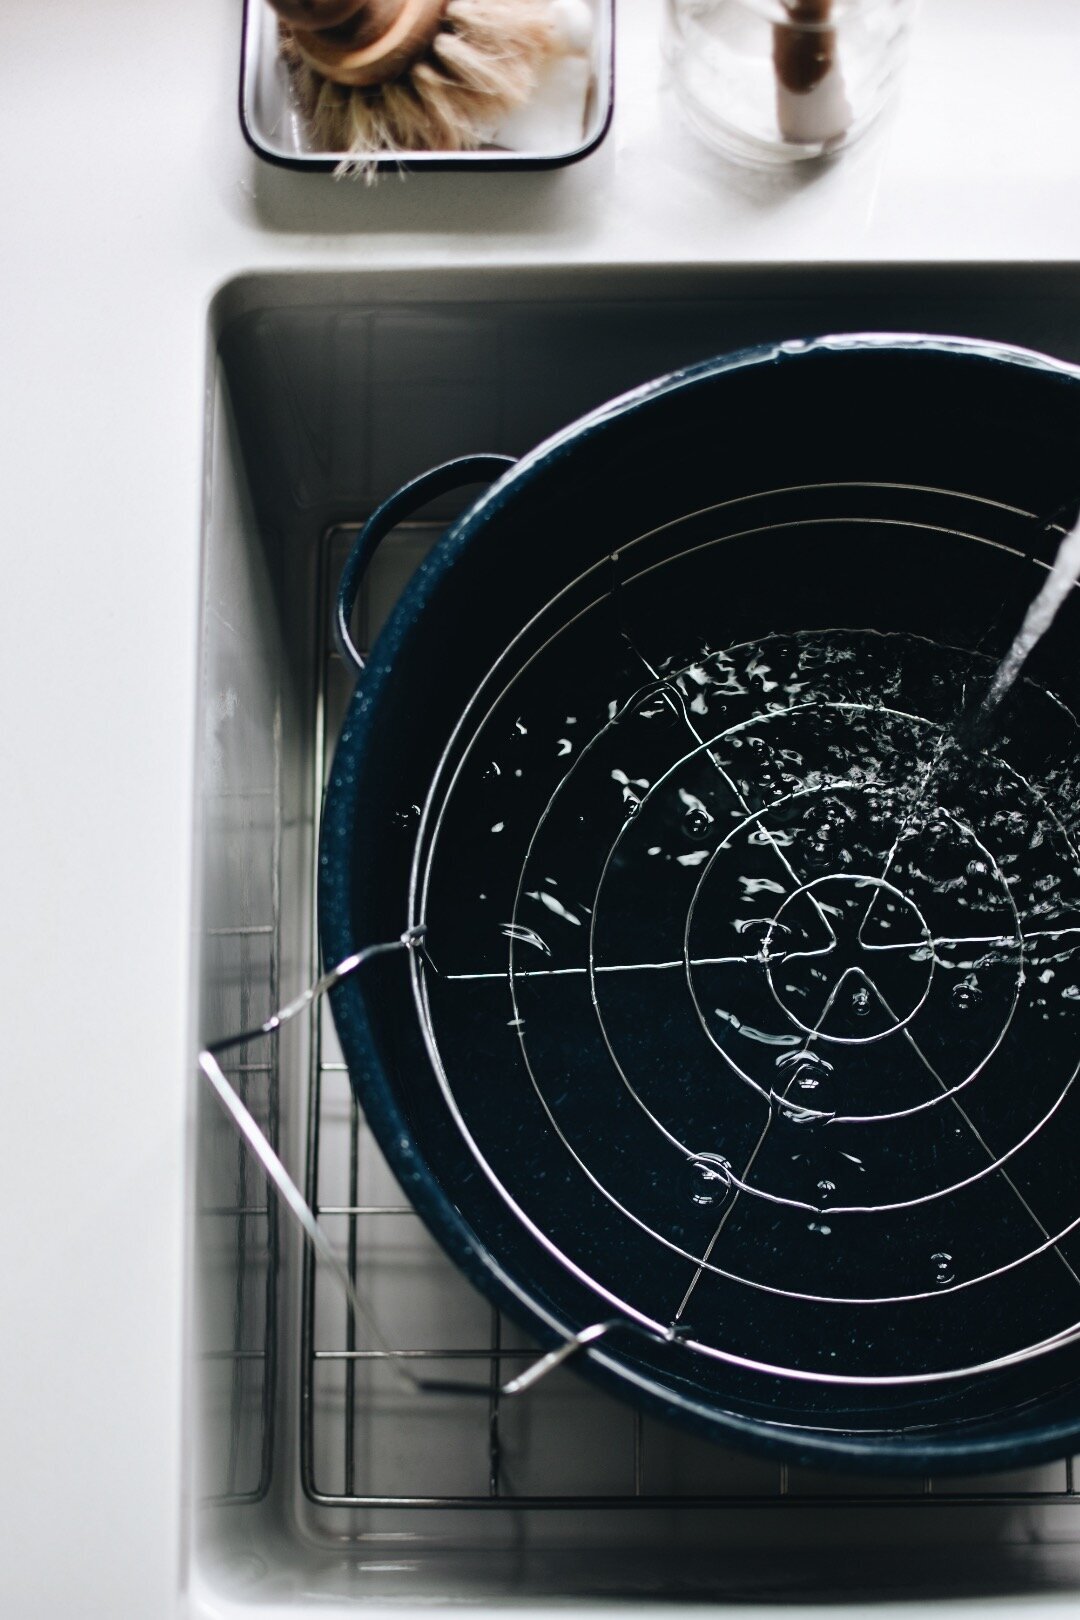
Place canning rack on the bottom of your pot and fill with water.
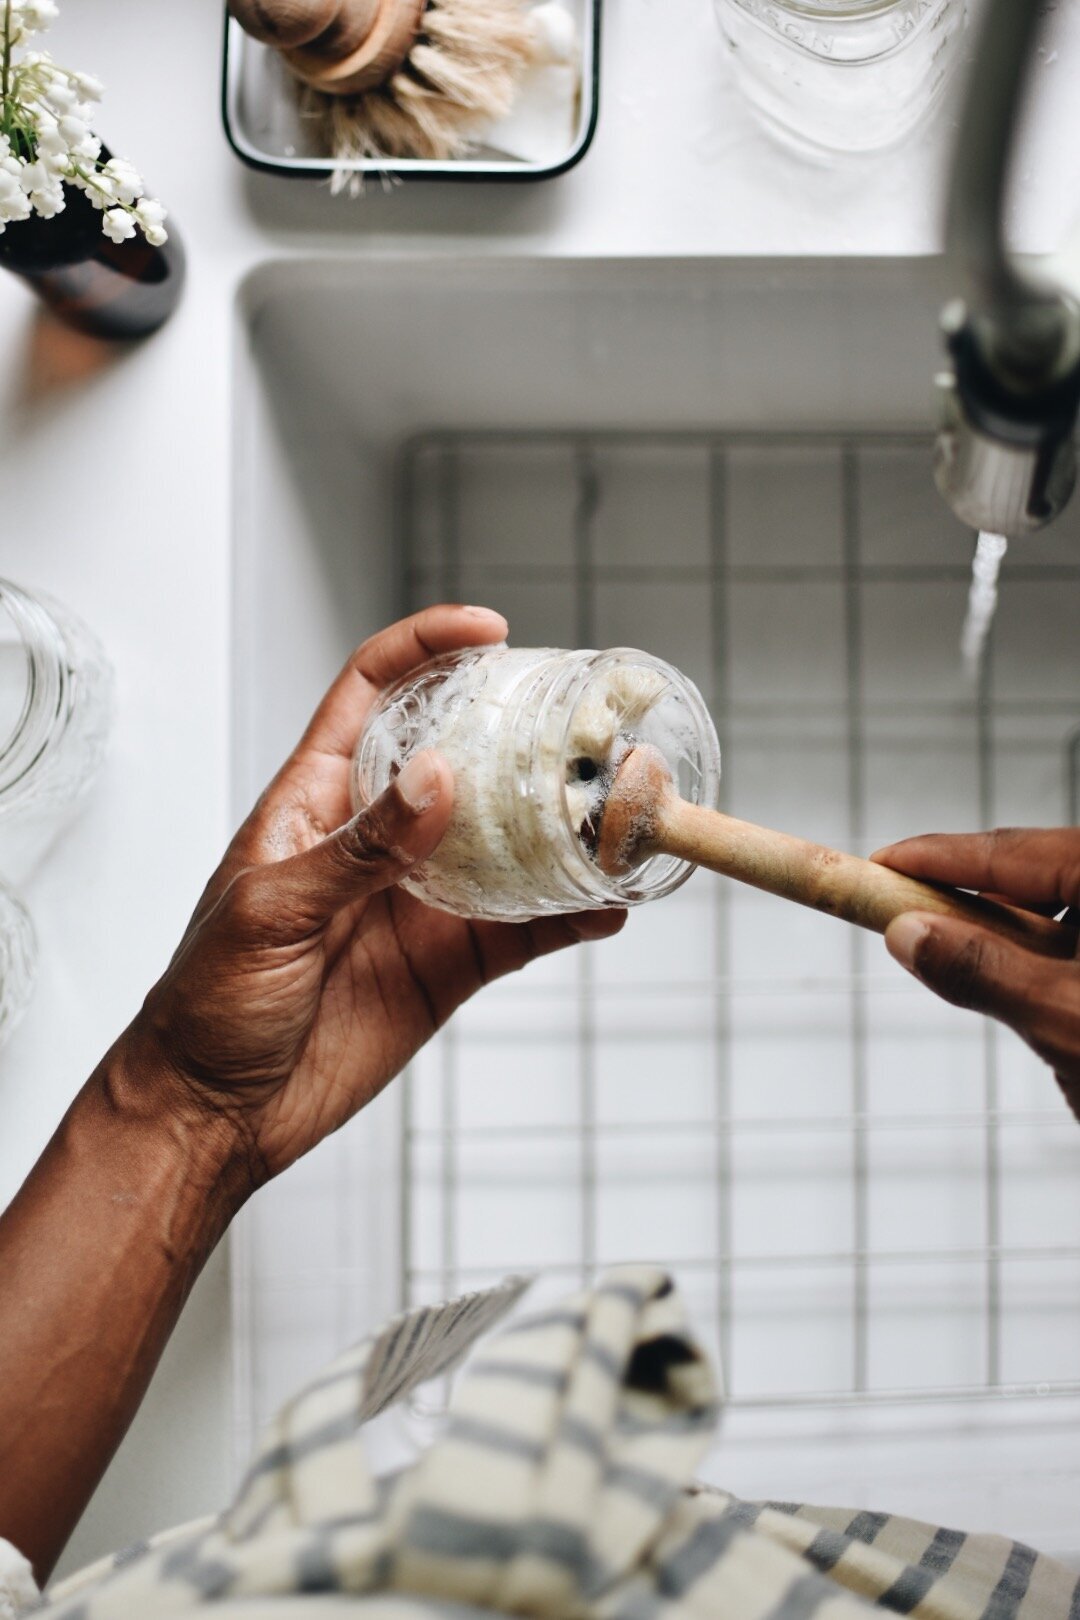
Wash jars with warm, soapy water & rinse.
Place jars on canning rack allowing to fill with water until covered by 1 inch.
Bring to a simmer over medium heat, not a boil.
Keep jars in water until ready to fill.
Wash lids with soapy water and set bands aside.
Prepare your Filling
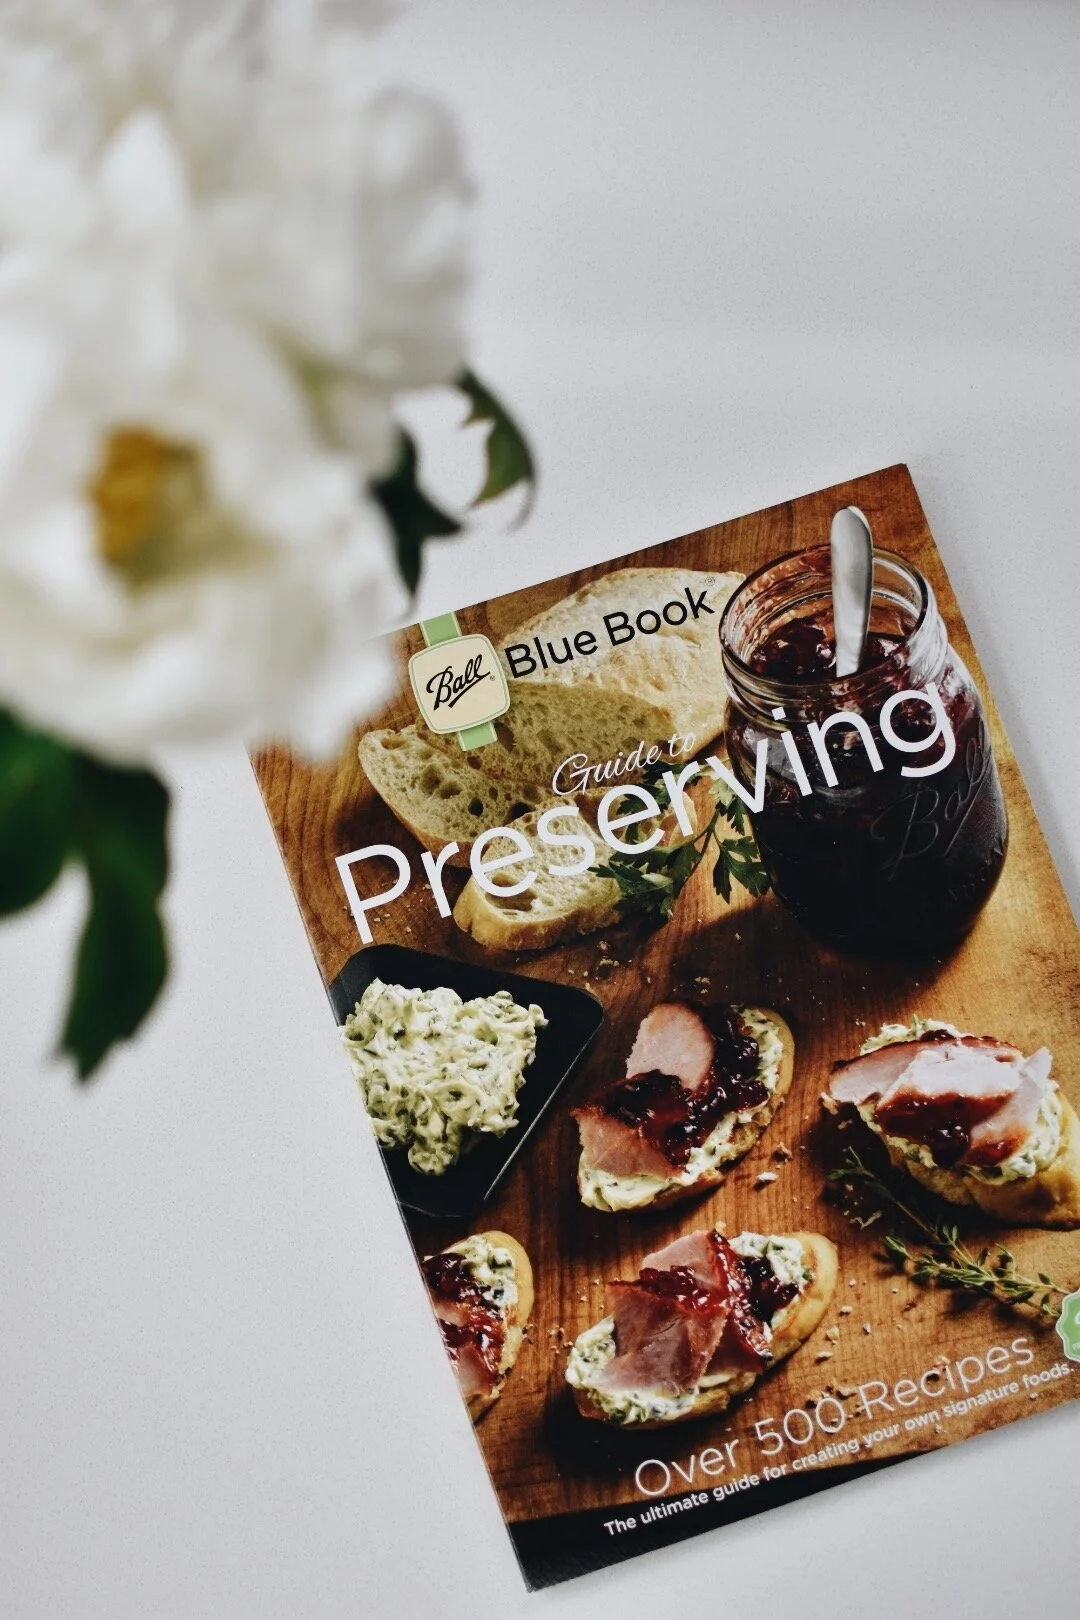
When choosing a recipe for canning, you want to make sure that recipe has been tested for preservation, meaning that it will be shelf stable in the long run. Ball® Blue Book is filled with Ball® Canning tested recipes great for canning.

No Sugar Strawberry Jam Recipe from Ball® Canning
This Ball® Canning recipe will make 6 (8 oz) half pint Ball® jam jars.
Ingredients
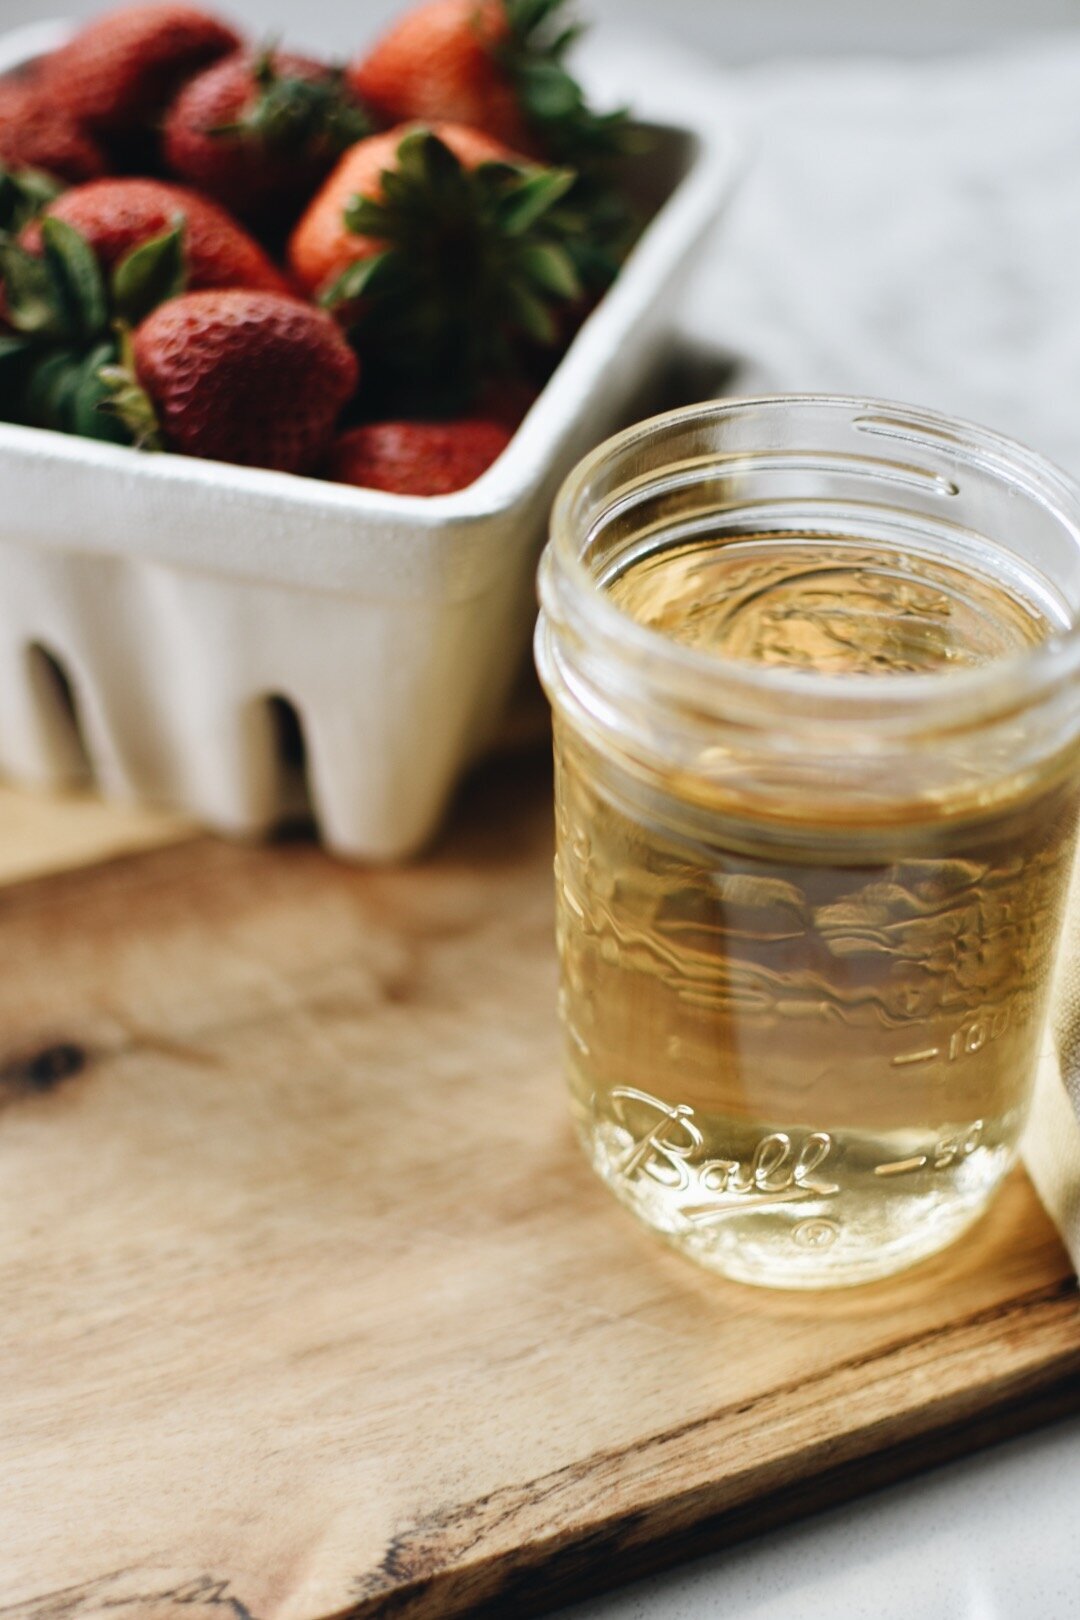
4 cups of strawberries, crushed
2/3 cup of organic, unsweetened white grape juice
3 tablespoons Ball® Low Sugar/No Sugar Pectin

Mash berries one layer at a time in a flat glass container. Once finished, pour mashed strawberries + white grape juice into saucepan over medium heat. Gradually stir in the pectin. Bring mixture to a full rolling boil that cannot be stirred down, over high heat, stirring constantly. Remove from heat and skim foam, if necessary.
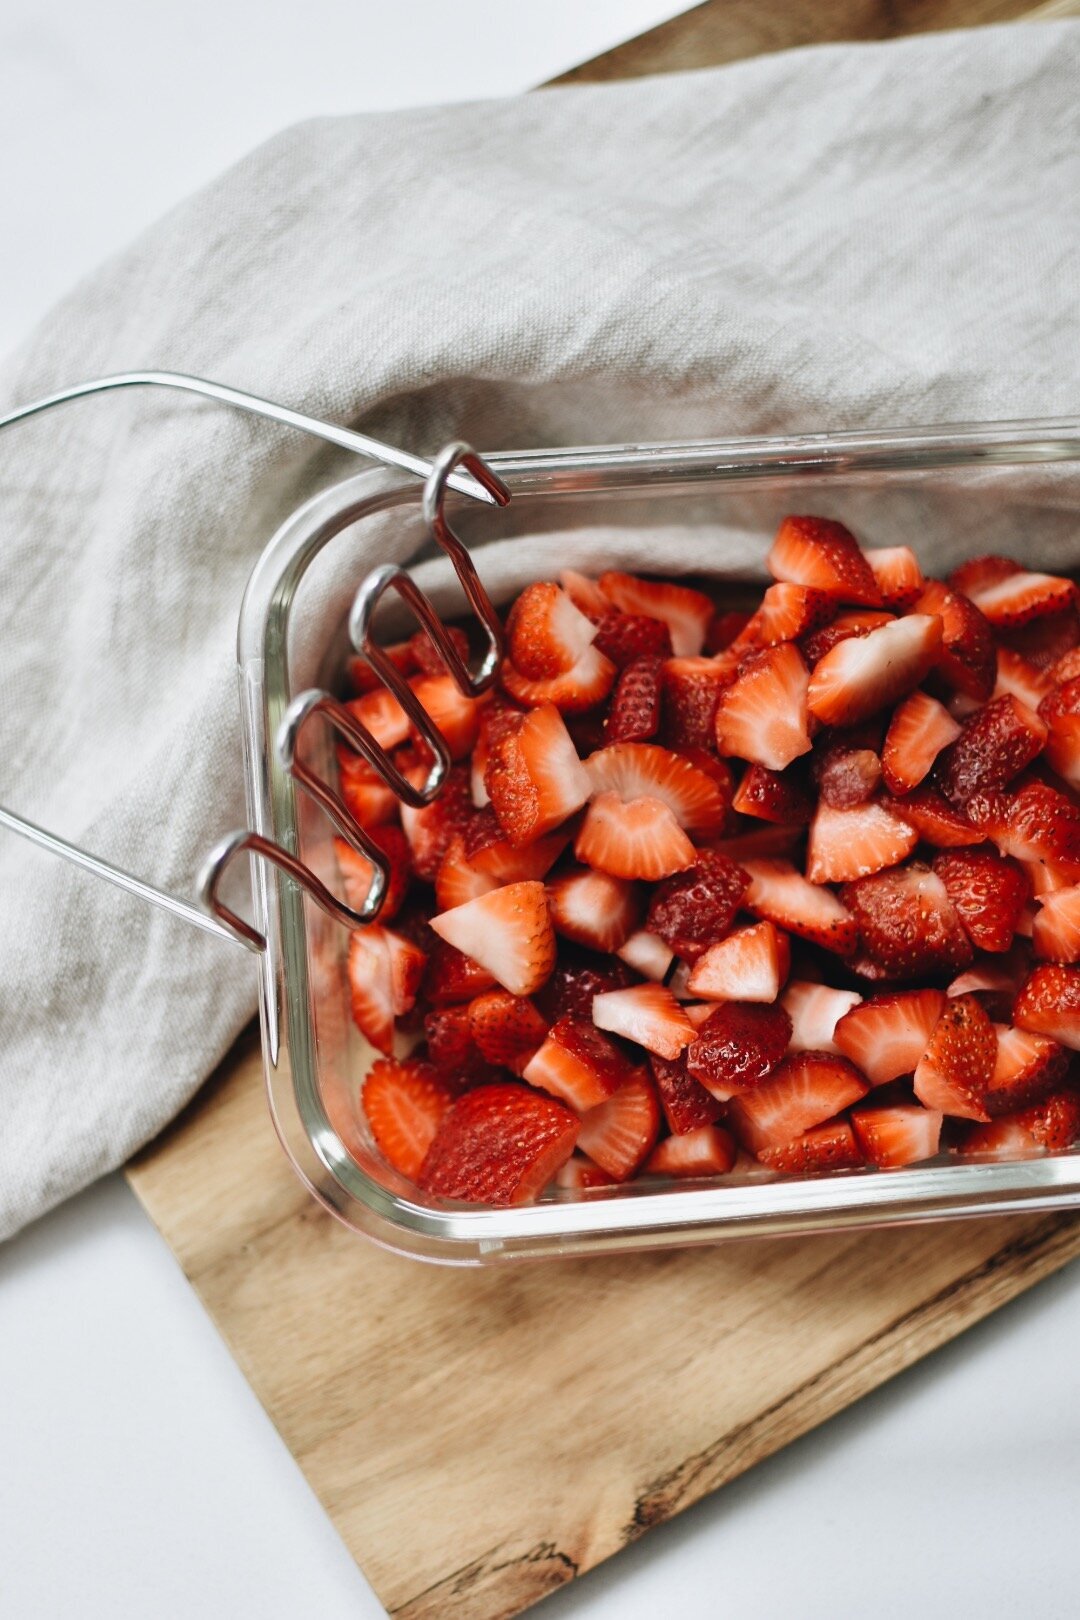
Don’t over crush your berries!


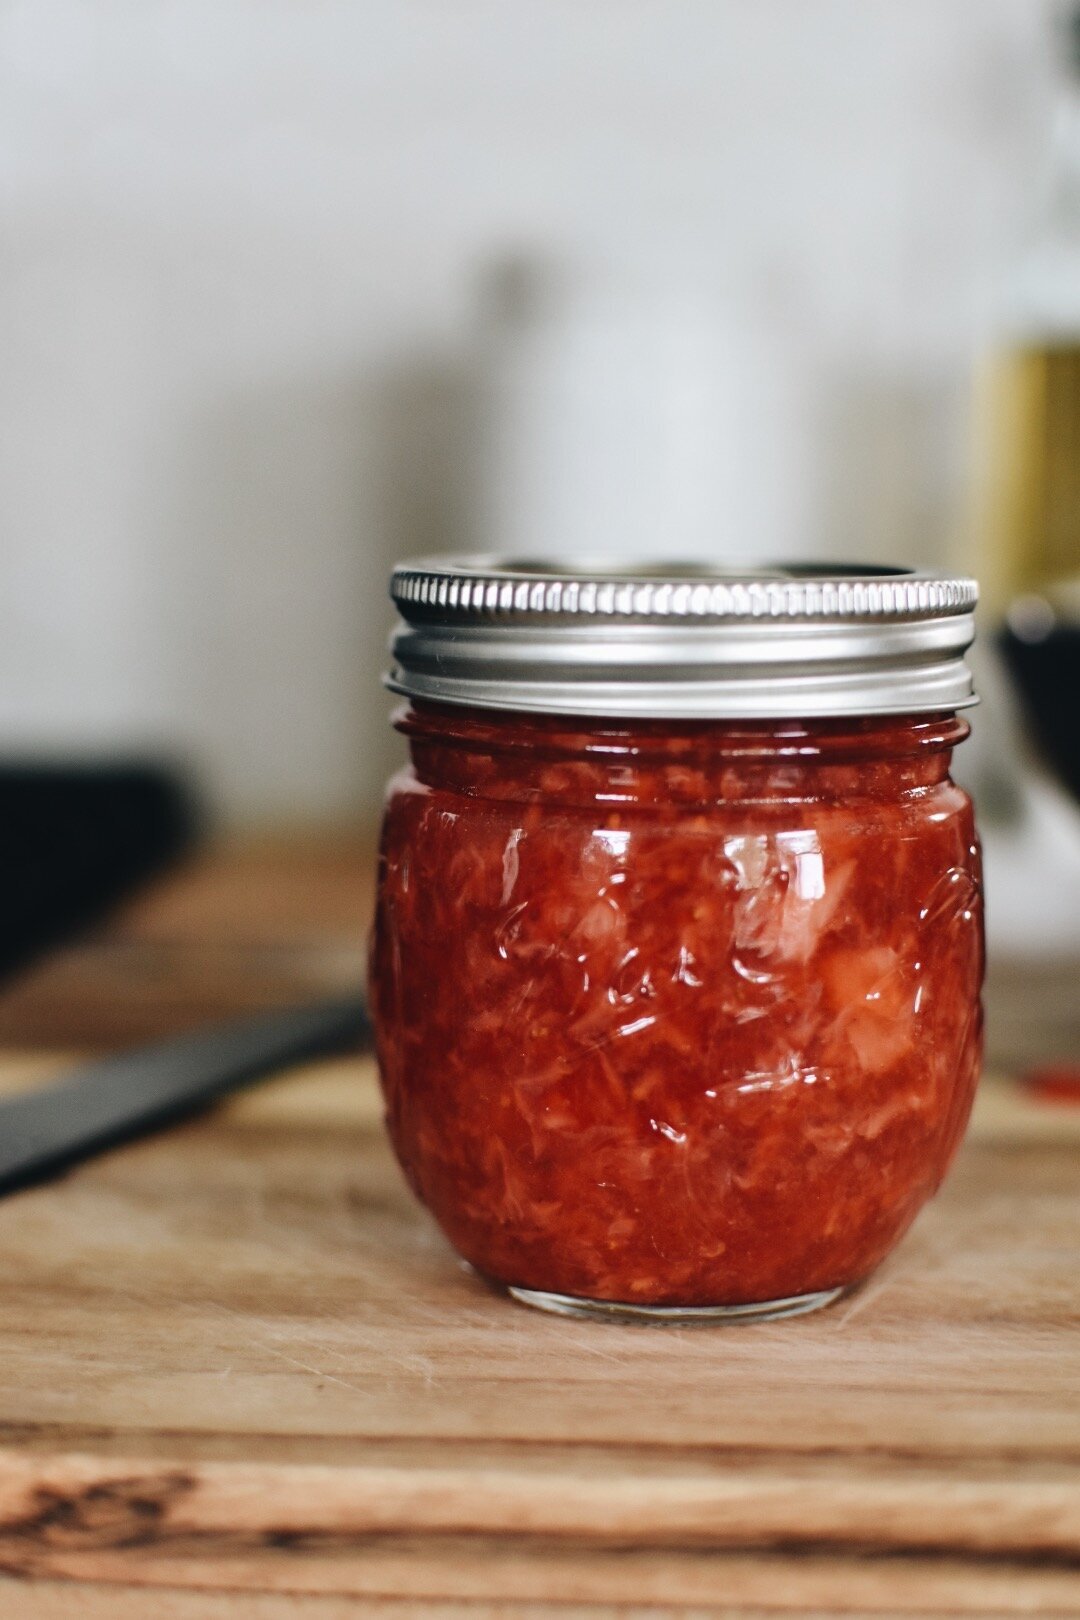
Fill Jars
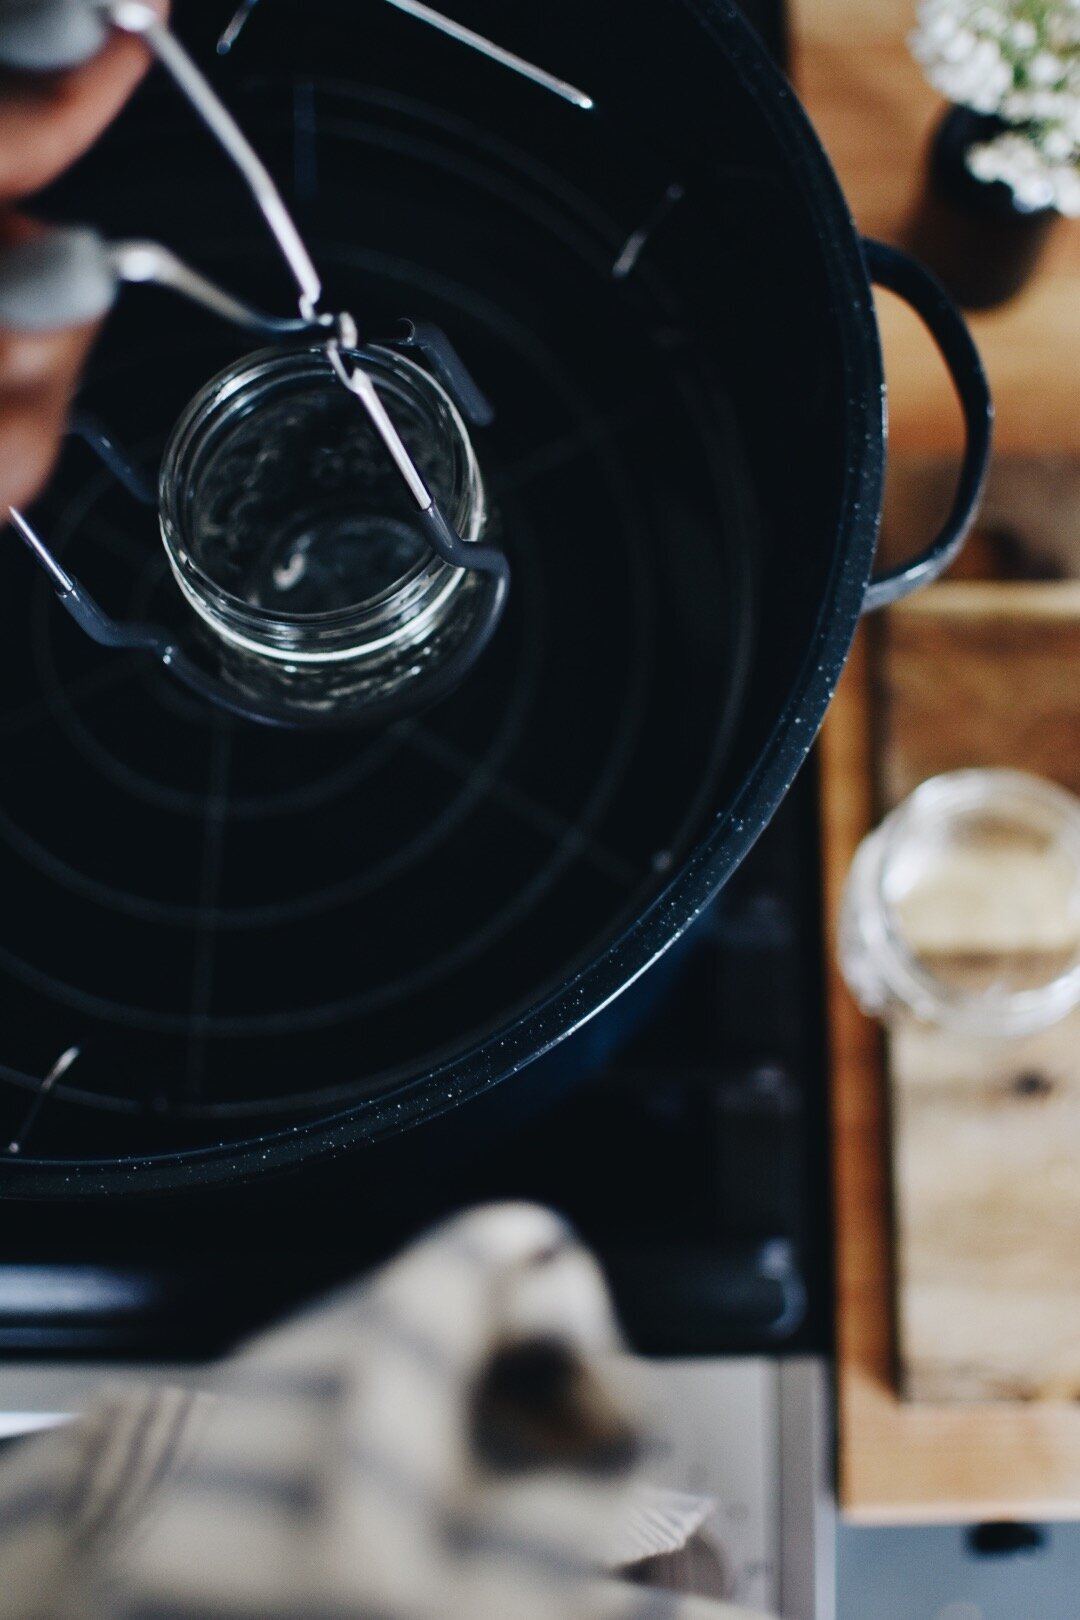
Grasping the light gray handles, use the jar lifters to remove one hot jar from the simmering water.
Carefully pour the hot water that is in the jar, back into the post.
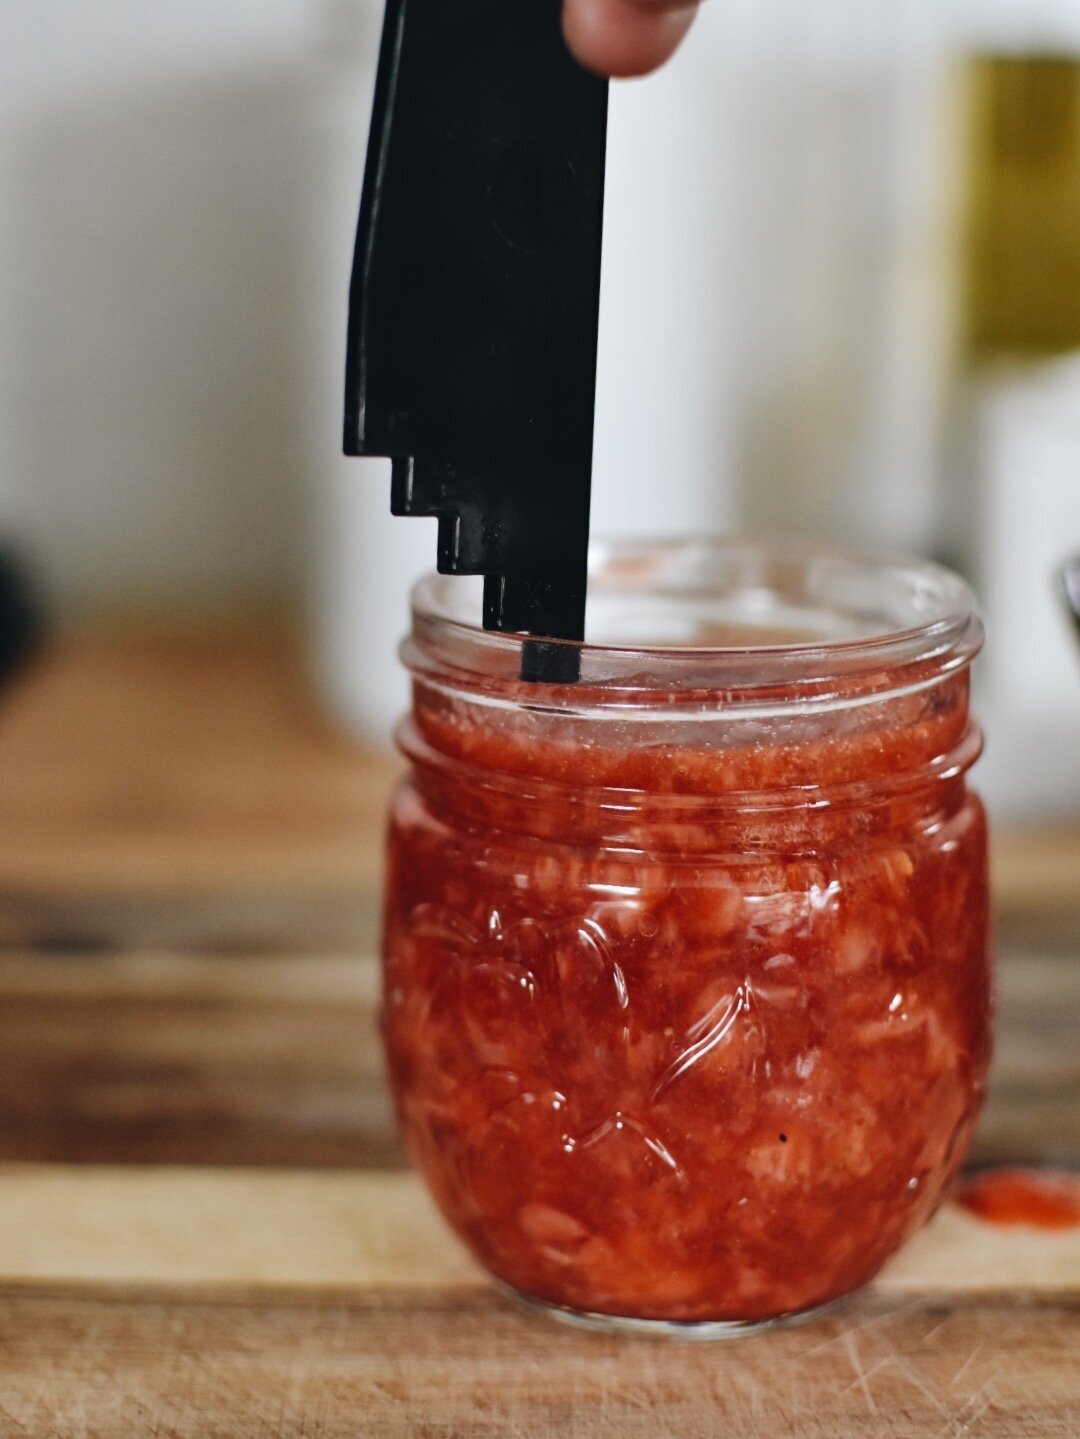
Place jar onto a dish towel or cutting board. Using a ladle and canning funnel, fill the jar with hot jam.

Measure headspace, using the headspace tool to ensure 1/4 inch of headspace from the jam to the rim of the jar.
Wipe jar rim with a damp cloth to remove any food.
Center the lid on the jar. Apply the band and twist until it is fingertip tight, making sure it is not overtightened.
*Tip: use a towel to hold the jar while tightening the band and the contents will be hot.
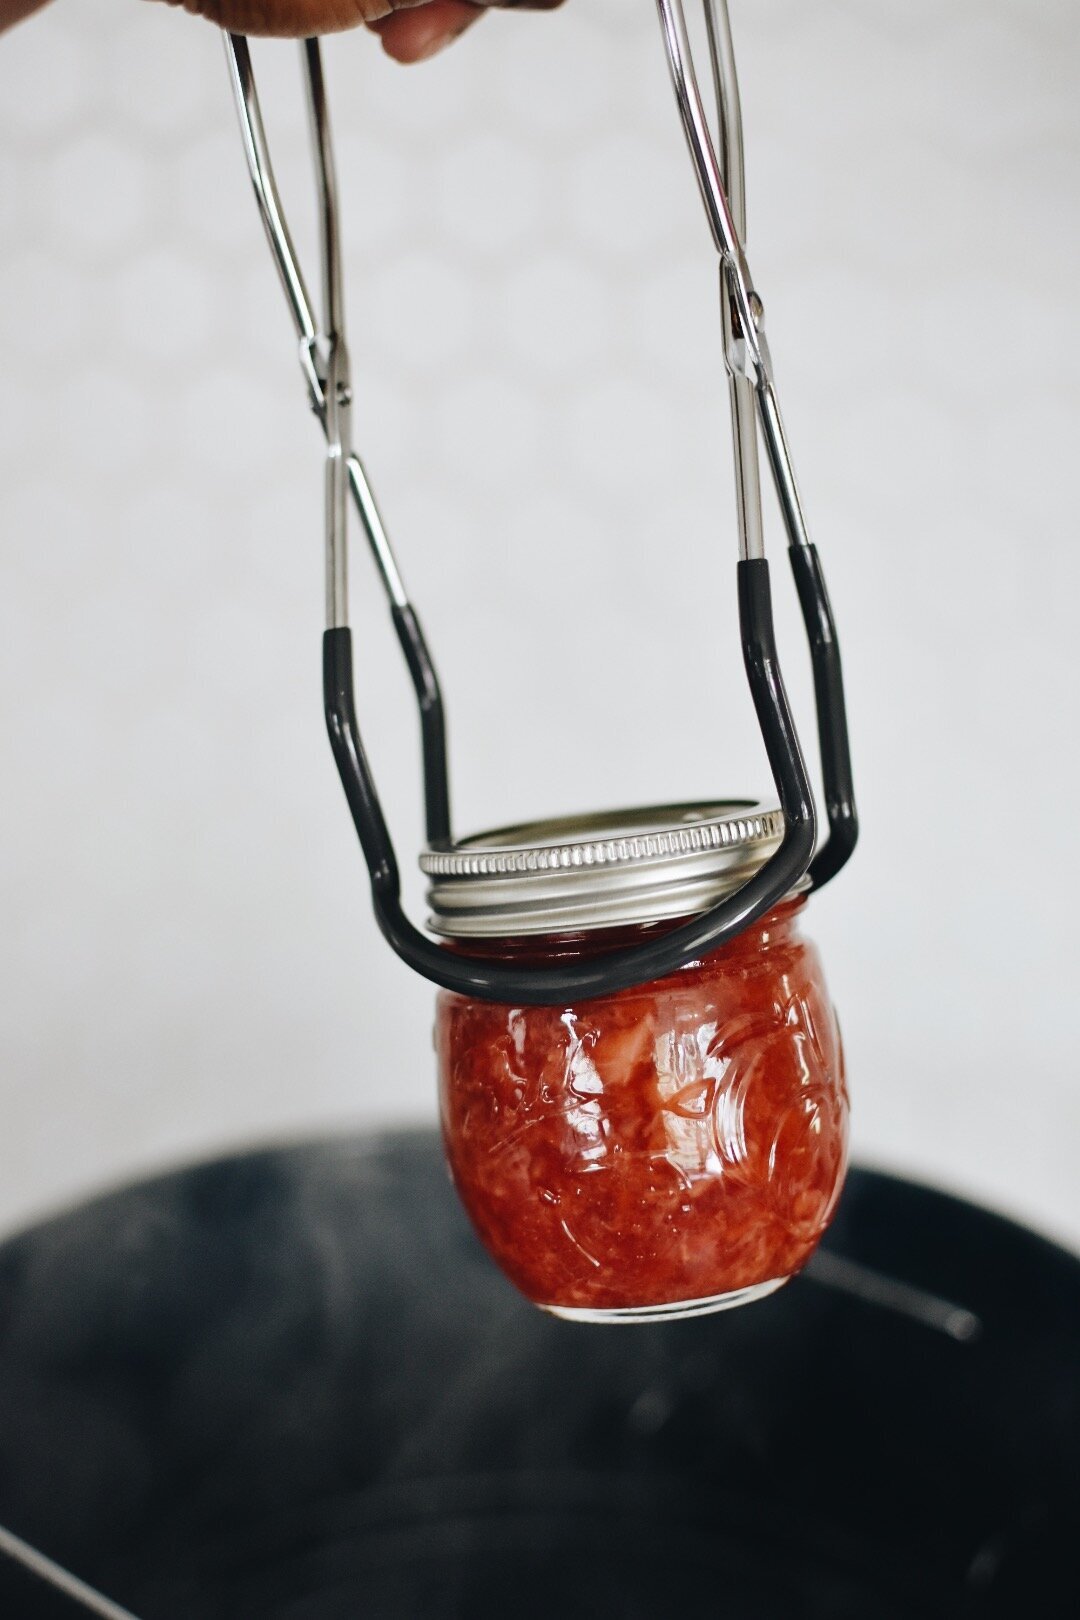


Return Jars And process
Use the jar lifter to place filled jar back in the pot. Then working one jar at a time, fill jar and place in pot until all the jars are filled. Make sure the water still covers the jars by at least 1 inch, adding more water if needed. Cover with lid.
Process jars for 10 minutes, adjusting for altitude.
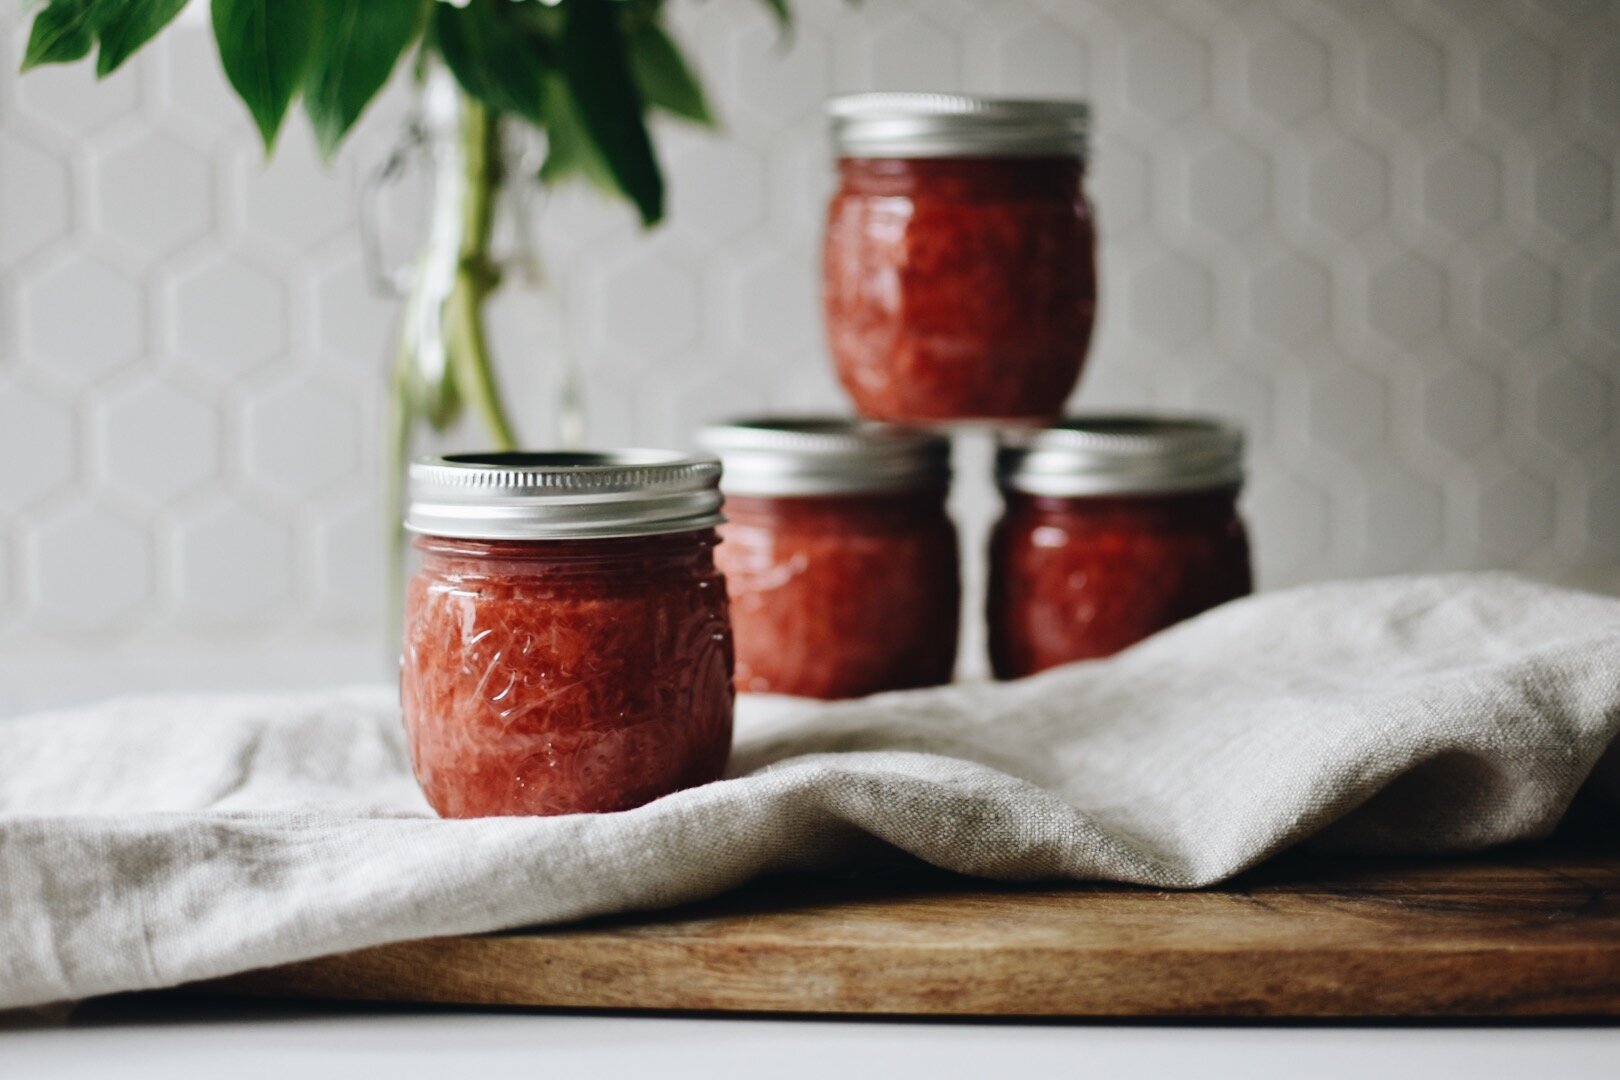
Cool Jars
Turn off heat, remove lid from pot and let jars stand for 5 minutes. Then use the jar lifter to remove the jars from the pot. Set upright on a towel or cutting board, leaving at least two inches between the jars. Let cool for 12-24 hours.

Test And Store
Test the lids for a proper seal. Lids should not flex up and down when the center is pressed. Remove the bands and gently try to lift off the lids with your fingertips. If the lids cannot be lifted off, the lid has a good seal. Wipe the jars and the lids with a clean, damp cloth. Label and store in a cool, dark, dry place for up to 18 months.

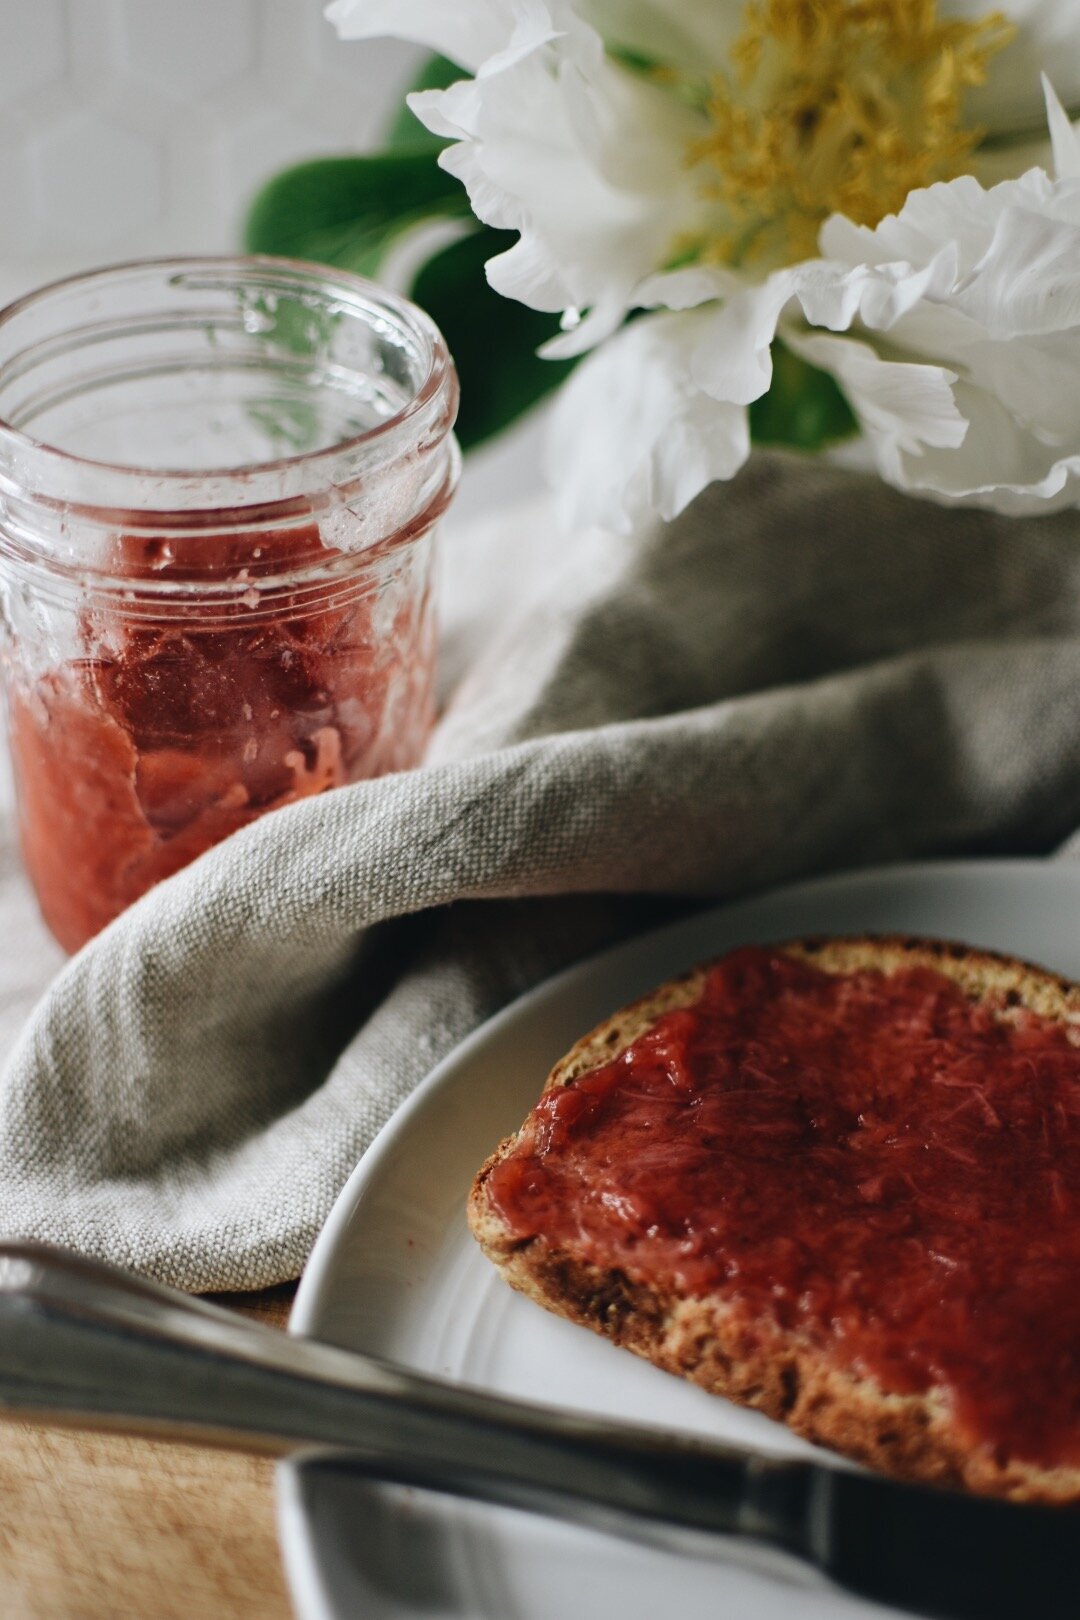
ENJOY! Do you have any experience canning? If you have any questions about the water bath canning process or recipe, please feel free to share them below!
This post is a sponsored post by Ball® Canning. All of my opinions and experiences are my own. Many thanks to the brands that support my work here on Maia Terra.